


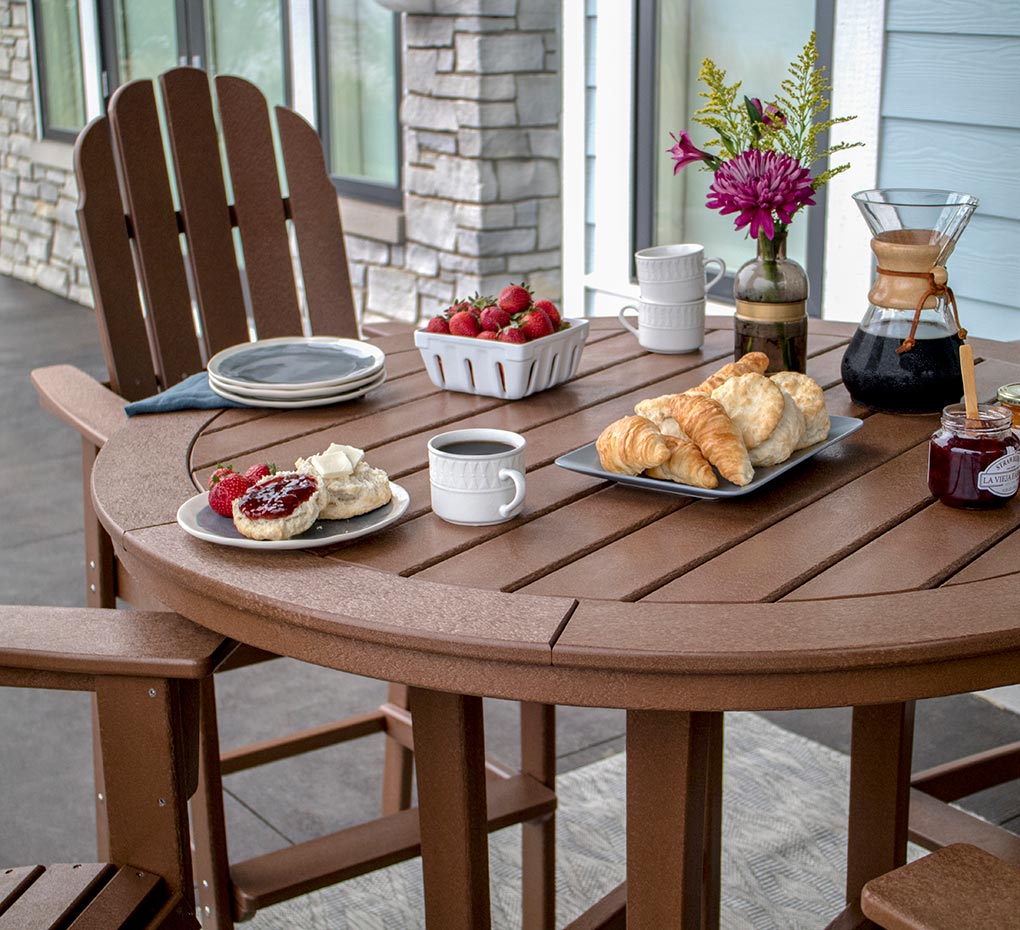


If you have extra milk jugs, juice bottles, or other plastic containers, take a beat before tossing them in your curbside recycling bin. Don't get us wrong, recycling is always a great idea, but there are ways to repurpose plastic bottles and turn them into useful household items.
We've listed 11 clever ideas below that put plastic containers to work in a variety of out-of-the-bottle ways. You'll save money, prevent waste, and have an opportunity to show off your DIY side.
1. DIY Watering Can

Supplies needed
- Hammer
- Thin nails
- Exacto knife
- 1-gallon milk jug with cap, empty and clean
Instructions
- Use the hammer to carefully tap the nail through the cap of your container. Make about 10 holes all around the top of the lid.
- Cut a hole about two inches wide in the upper neck of the jug above the handle. This helps with airflow and makes filling it easier.
- Fill the jug with water, replace the cap, and water your vegetable patch.
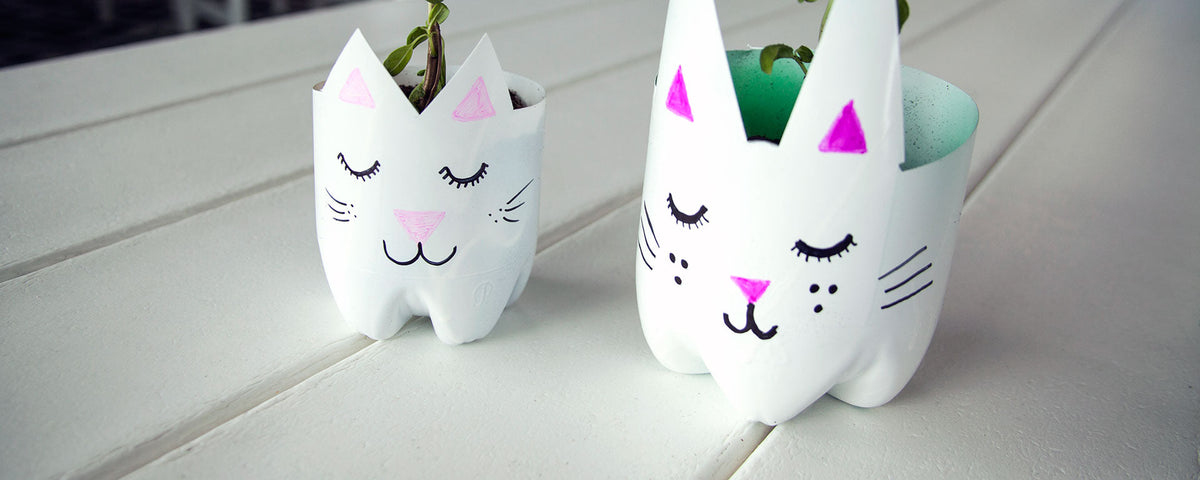
2. Mini Plant Covers
Protect seedlings from bad weather and prevent moisture loss with mini greenhouses fashioned from juice and water bottles. Cut off the bottle tops, remove labels, and place containers over your baby plants. When the seedlings outgrow the bottles, either switch to larger containers if they still need protection or leave them in the open air if they're good to grow.
PRO TIP:
Rinse and dry the containers weekly to prevent mold growth.
3. Egg Carton Seedling Planters
Turn a plastic egg carton into a home for new seedlings. Poke holes in the bottom of each egg cup for drainage, fill with potting soil and seeds, close the lid, then place it in a sunny spot on your patio.
PRO TIPS:
You can also try this method with clamshell containers. Whatever receptacle you choose, make sure to clean the lid weekly to keep mold growth at bay.
4. Magnetic Utensil Holders
These DIY pencil holders keep outdoor eating utensils on hand, carpenter pencils close by in your workshop, or your kids' sidewalk chalk off the floor.
Supplies needed
- 1 water bottle, empty and clean
- Scissors
- Glitter glue, stickers, nail polish, and other craft supplies that adhere to plastic
- Hot glue gun and glue sticks
- 2 round heavy-duty magnets, 1–1.5 inches in diameter
Instructions
- Cut the bottle top off at its widest part with the scissors.
- Remove the label.
- Decorate the bottle in any way you please, or let your kiddos do the honors.
- If glue or paint was used, leave it to dry for at least an hour (overnight is best).
- Use the glue gun to attach the magnets to one side of the bottle toward the top, one above the other.
- Let the glue cool and harden overnight before putting your new holder on your outdoor fridge.
PRO TIP:
To make this craft even more kid-friendly, you can skip the glue gun and opt for heavy-duty magnetic clips that clamp to the lip of the bottle. Keep in mind that using two clips side—by—side—depending on their width—may bend the mouth of the bottle into a thin oval shape, making it hard to fit as many forks, knives, and spoons inside.
5. Shampoo Bottle Faucet Extender
If you have little ones who have difficulty reaching over the sink to wash their hands, bring the water to them with this makeshift faucet extender.

Supplies needed
- Tape measure
- Shampoo, body wash, or lotion bottle, empty and clean
- Permanent marker
- Scissors or box cutter
Instructions for Long, Curved Faucets
- Measure the width of the faucet's neck.
- Draw an outline on one side of your bottle so you know where to cut, making sure the hook portion matches the faucet neck's diameter. (If you cut the section too wide, the bottle won't stay in place.)
- Cut off the top portion of your bottle to create a flat edge. Then cut out the shape following the outline you drew and attach it to any curved-style faucet.
Instructions for Short Faucets
- Measure the width of the faucet's neck.
- With the box cutter, cut an X just a little larger than the neck of the faucet on the bottom of the bottle.
- Remove the cap and attach the bottle to any short faucet.
6. Sustainable Shaker
Finally use the last bit of spice rub in the jumbo-sized container you bought at Costco? Give that bottle another chance as a shaker for dried herbs, spices, powdered sugar, and other ultrafine ingredients. Simply wash, rinse, and dry the bottle thoroughly, then fill it with any seasoning you choose.
7. Milk Jug Ice Pack
This homemade ice pack will keep your cooler of drinks cold for your next day at the lake. The night before you leave, fill a clean one-gallon (or a half-gallon if you have a small cooler) milk jug half full with water and put it in the freezer.
The next morning, place the frozen container in the cooler and add your beverages. Since the solid hunk of ice in the jug is much larger than loose ice, it will take longer to melt, which will extend the chill time for your libations.
8. To-Go Yogurt Tubs
Maybe you saw your parents or grandparents do this with whipped topping containers and margarine tubs back in the day. (They were onto something.)
Once you've used the last of the Greek yogurt for your almond butter protein smoothie, clean the container and save it for the next backyard barbecue at your place. There’s bound to be leftover pulled pork and potato salad, so pack them up in the former yogurt tub and send them home with your college-age kids to ensure they're fed while studying for finals.
9. Kitchen Compost Container
Keep a large ice cream tub on your outdoor kitchen counter as a convenient spot to collect fruit and vegetable scraps after prepping your veggie skewers for the grill. Bonus points if it has a handle that simplifies the trip to your compost pile.
PRO TIP:
Make sure the tub has a tight-fitting lid so it doesn’t attract ants, bees, or other critters.
10. Bead Organizer
Keep beads, seeds, buttons, and other tiny objects contained in this homemade organizer.
Supplies needed
- Shoebox
- Plastic salad dressing bottles, empty and clean
- Tape
- Permanent marker
- Small funnel
Instructions
- Line the shoebox with the bottles to see how many fit snugly inside.
- Remove any labels.
- Write the names of the items you plan to store on pieces of tape and stick them to the bottlenecks.
- Fill the bottles with your chosen contents—use the funnel to simplify this step.
- Screw the caps back on all the bottles and put them in the shoebox.
11. Upcycled Decor Storage
Give small seasonal decorations extra protection by wrapping them in plastic grocery bags and storing them in plastic berry and salad green containers. Not only can you reuse them year after year, but the plastic is also lightweight, which makes storage totes easier to stack up during the off-season.